
Step-bystep guide for the pom pom chair project
A few weeks ago I shared my weekend project with you. Here are the steps in order to replicate it:
- Make ALL the pom poms.
- Pick the colours you want. I went totally random and I like it. If I’d do it again, Mr. Flopsy can pick the colours that suit his more stylish trendy house magazine style style.
- Pick the method you are happy with, lots of options out there. Remember to leave two tails on them, did a good few at the start with just one. Do’h.
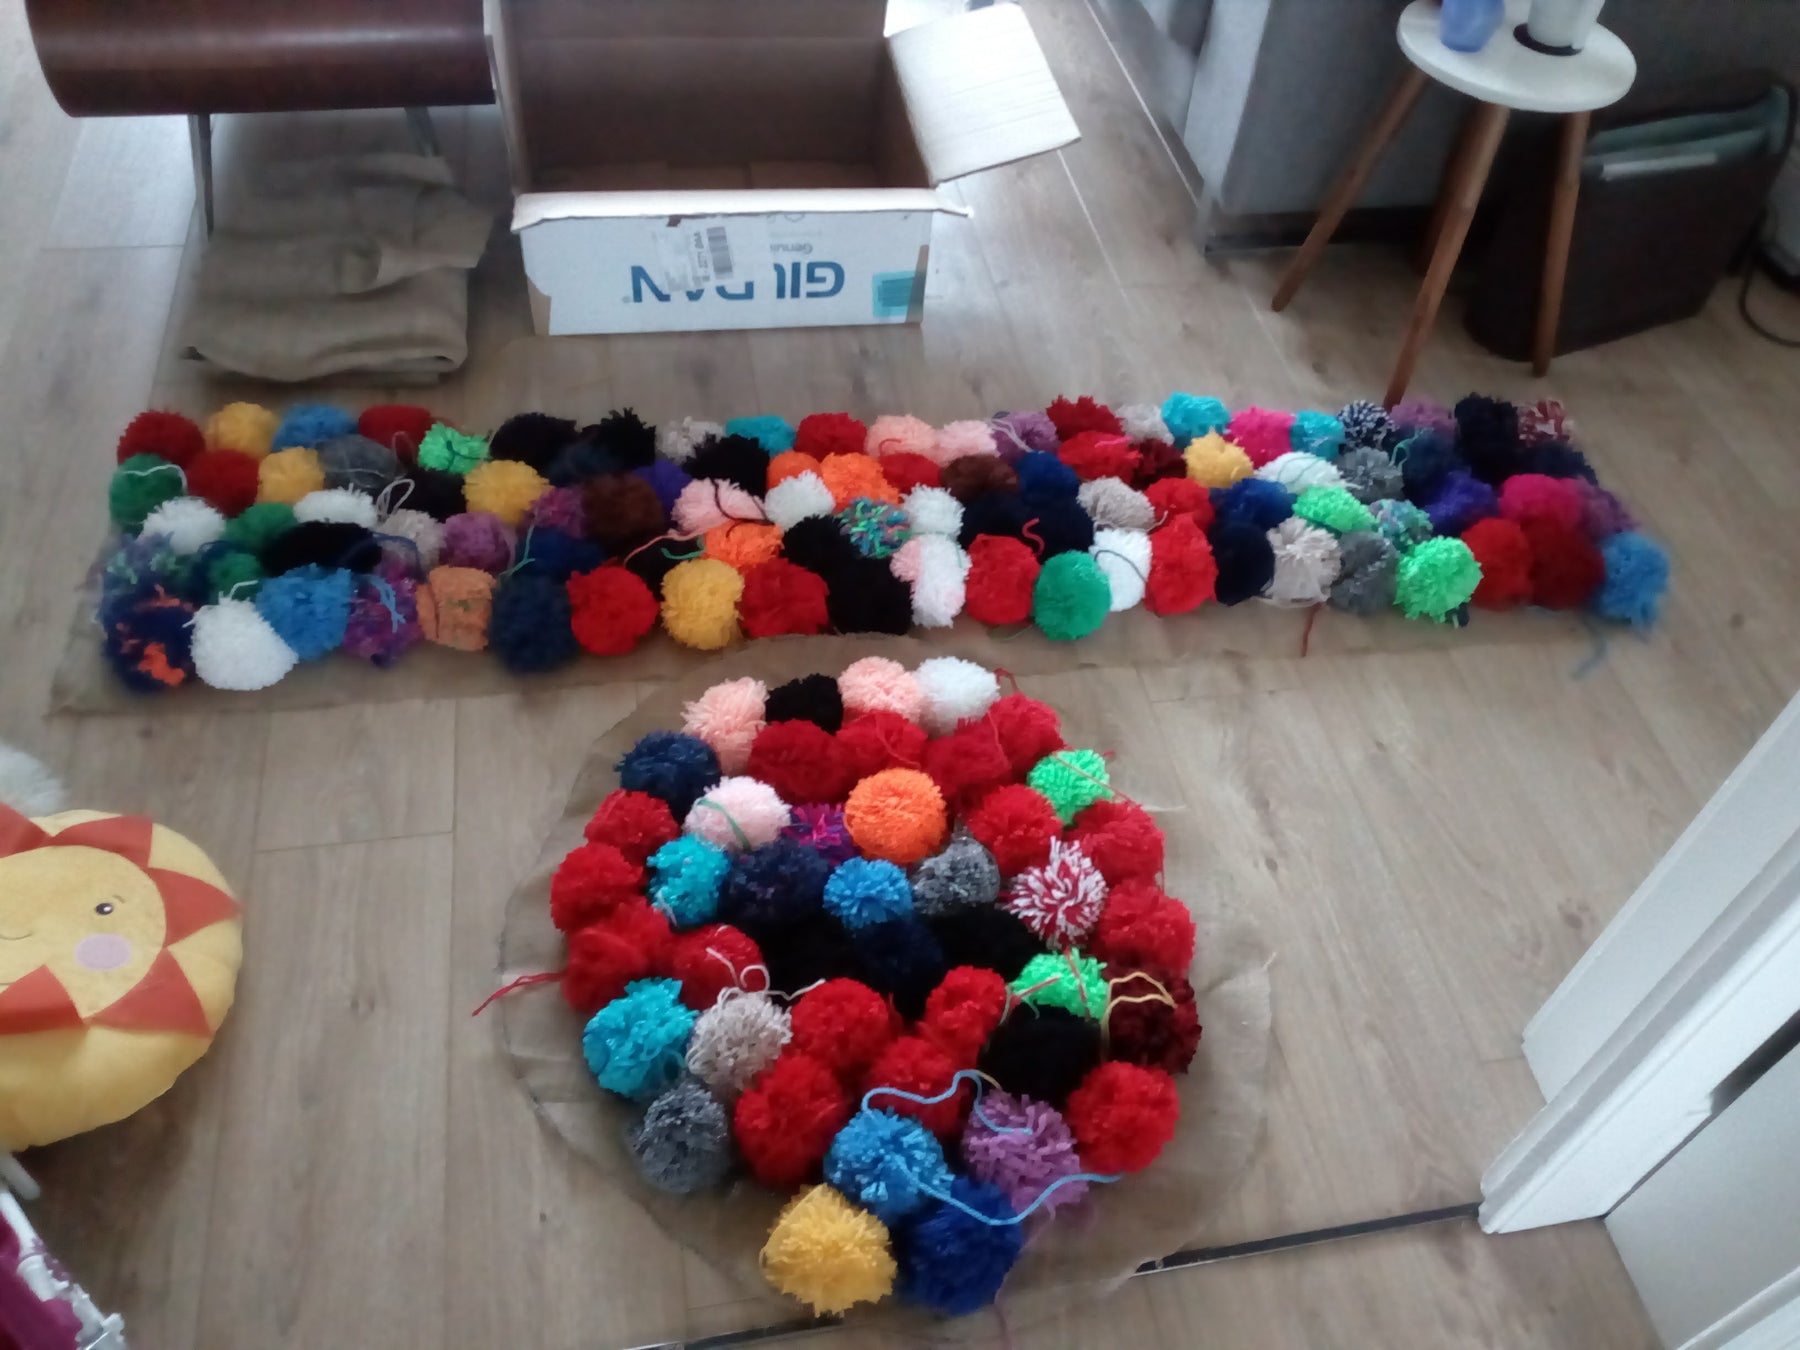
- Make loads. None of the blogs mentioned how many you might need and it’s really really hard to count them on the pictures. I ended up making over 250.
- Get your tyre.
Give it a clean. Pick a nice sunny day and have some fun cleaning it. Little miss flopsy enjoyed helping to clean it, as did I, and we didn’t make a mess inside so Mr. Flopsy was happy too.
- Measure and cut out the wood circular pieces you need. Then, to give some more height, little squares to put the legs on to, which also makes it more stable. Cheap as chips plywood from your nearest DIY store will do. No one is going to see it.
- Measure and cut the fabric.

Give yourself some extra space for safety. Cut the circle and then cut the skirt, allowing extra length on the skirt to fold over to make a hem to thread ribbon or string through to tie it once on the poof.
- Stitch these two things together.
I used wool to do the stitching. Check it sits right on the poof once done.
- Stick all the pom poms onto the fabric. One by one! What you need to do is send a tail through a hole and then the other tail to the hole beside it and then tie together. If you are living with grown-up adults you don’t have to go so tight. We have a toddler with toddler friends. One such toddler friend saw the chair and went straight to “I have to yank really hard to get this fun colourful ball off” mode. So I tied them tighter. And then tied stuff together. Beat that, toddlers!
- Thread your string or ribbon through the hem.
- Throw over the poof, tie the bottom. Sit your bum on it and enjoy!


Leave a comment